


Unity で Rigidbody をアタッチしたゲームオブジェクトを、トルクによって回転させるスクリプトのサンプルです。入力した方向キーの向きに回転する力が加わります。
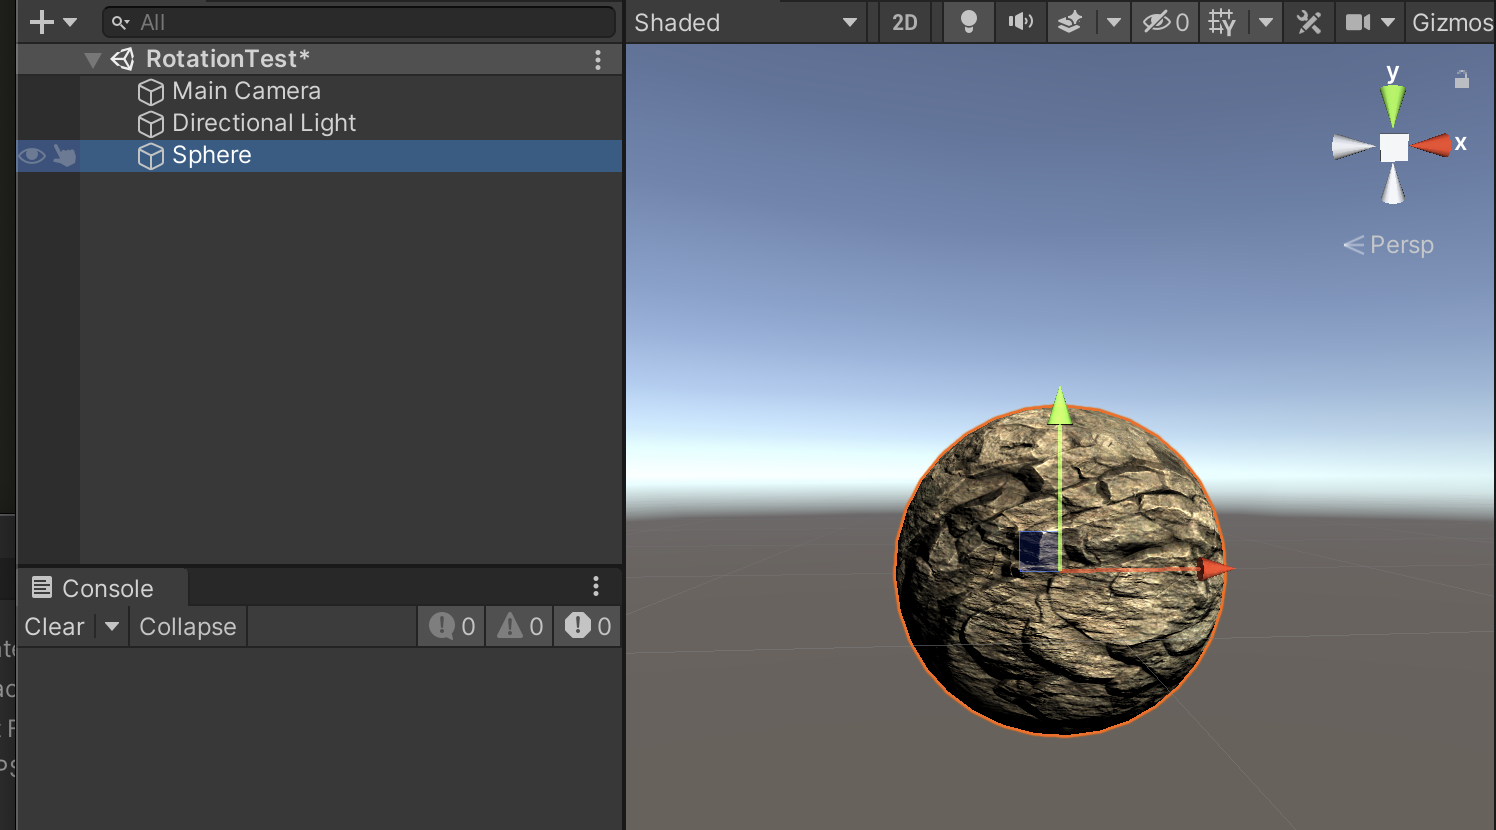
空の3Dプロジェクトを開いて Sphere オブジェクトを追加し、コンポーネントとして Rigidbody と以下のスクリプトをアタッチします。Sphere には、回転がわかりやすいように適当なテクスチャを付けています。
using System.Collections;
using System.Collections.Generic;
using UnityEngine;

// 入力した方向キーの向きに回転するオブジェクトのスクリプト
public class RotationTest : MonoBehaviour
{

    Rigidbody rb;
    Vector3 torque;


    void Start()
    {
        rb = GetComponent<Rigidbody>();
        rb.useGravity = false; // 重力を無効にする
    }


    void FixedUpdate()
    {
        // 入力がなければトルクを0にする
    	torque = Vector3.zero;

    	if (Input.GetKey("right"))
        {
        	torque = Vector3.back;
        }

        if (Input.GetKey("left"))
        {
        	torque = Vector3.forward;
        }

        if (Input.GetKey("up"))
        {
        	torque = Vector3.right;
        }

        if (Input.GetKey("down"))
        {
        	torque = Vector3.left;
        }

        // 現在の角速度
        print(rb.angularVelocity);

        // トルクを加える
        rb.AddTorque(torque, ForceMode.Acceleration);

        // 加える位置を帰る場合はこちら
        // rb.AddForceAtPosition(torque, ForceMode.Acceleration, transform.position);
    }
}
実行結果です。AddTorque によって十字キーの入力方向に回転する力が徐々に球体に加わります。