


Table of Contents
Kotlin で ListView を表示するサンプルコードを紹介します。
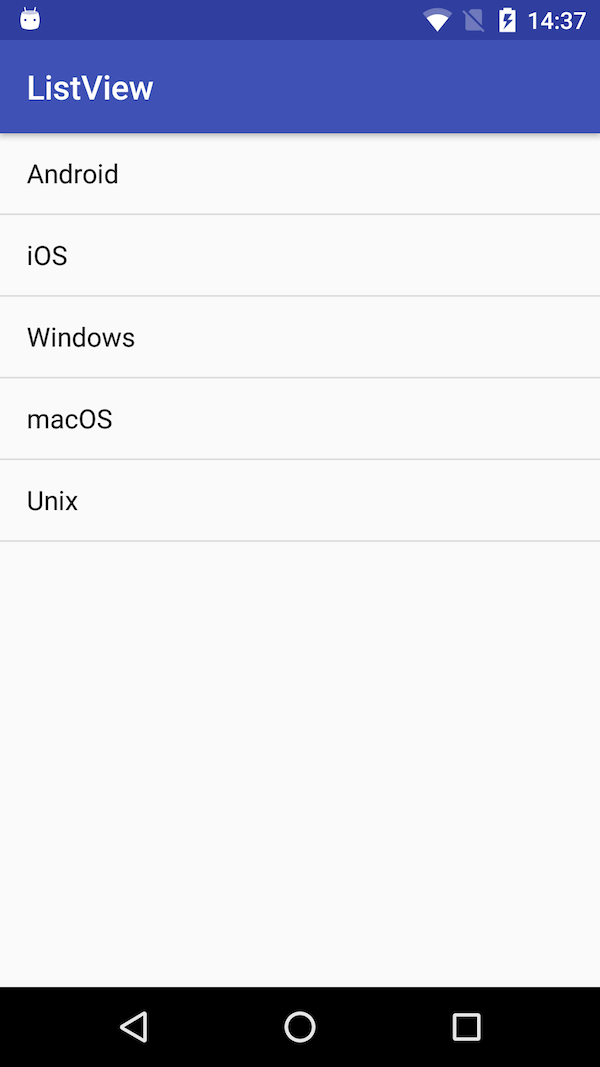
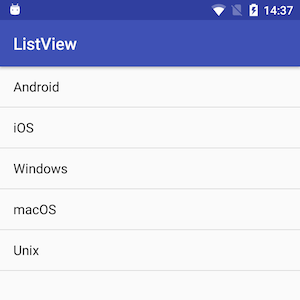
配列に格納した文字列をリスト項目として以下のように表示する簡単なアプリです。
サンプルコード
レイアウトXMLで画面に ListView を配置し、そのリストにプログラム(Kotlin)で項目を設定します。
activity_main.xml
レイアウトを設定するXMLの中身は以下の通りです。
<?xml version="1.0" encoding="utf-8"?>
<LinearLayout xmlns:android="http://schemas.android.com/apk/res/android"
    xmlns:tools="http://schemas.android.com/tools"
    android:orientation="vertical"
    android:layout_width="match_parent"
    android:layout_height="match_parent"
    tools:context="com.example.test.MainActivity" >

    <ListView
        android:id="@+id/listView"
        android:layout_width="match_parent"
        android:layout_height="match_parent" />

</LinearLayout>
LinearLayout の中に一つの ListView を配置するだけの簡単なレイアウトです。
MainActivity.kt
package com.example.test

import android.support.v7.app.AppCompatActivity
import android.os.Bundle
import android.widget.ArrayAdapter
import android.widget.ListView

class MainActivity : AppCompatActivity() {

    override fun onCreate(savedInstanceState: Bundle?) {
        super.onCreate(savedInstanceState)
        setContentView(R.layout.activity_main)

        // リストの項目となる文字列を配列で設定
        val items = arrayOf("Android", "iOS", "Windows", "macOS", "Unix")

        // 配列から ArrayAdapter を作成
        val arrayAdapter = ArrayAdapter<String>(this, android.R.layout.simple_list_item_1, items)

        // レイアウトXMLから ListView を読み込み、リスト項目を設定
        val listView : ListView = findViewById(R.id.listView)
        listView.adapter = arrayAdapter
    }
}
ArrayAdapter の第二引数には、リストの表示方法を記載したXMLレイアウトを指定します。
今回の例では標準で用意されている android.R.layout.simple_list_item_1 を使用していますが、見た目を変えたい場合は自分で定義したレイアウトを使用することができます。
これで、配列 items に設定した文字列の分だけリストアイテムが作られ表示されます。
リスト項目を後から設定
ArrayAdapter のメソッド add によって、リスト項目を後から設定(追加)することができます。
package com.example.test

import android.support.v7.app.AppCompatActivity
import android.os.Bundle
import android.widget.ArrayAdapter
import android.widget.ListView

class MainActivity : AppCompatActivity() {

    override fun onCreate(savedInstanceState: Bundle?) {
        super.onCreate(savedInstanceState)
        setContentView(R.layout.activity_main)

        // ArrayAdapter を作成
        val arrayAdapter = ArrayAdapter<String>(this, android.R.layout.simple_list_item_1)

        // リスト項目を追加
        arrayAdapter.add("Android")
        arrayAdapter.add("iOS")
        arrayAdapter.add("Windows")
        arrayAdapter.add("macOS")
        arrayAdapter.add("Unix")

        // レイアウトXMLから ListView を読み込み、リスト項目を設定
        val listView : ListView = findViewById(R.id.listView)
        listView.adapter = arrayAdapter
    }
}
Kotlin では apply によって一時変数の省略が可能です。
...(略)...

// ArrayAdapter を作成してリスト項目を追加
val arrayAdapter = ArrayAdapter<String>(this, android.R.layout.simple_list_item_1).apply {
    add("Android")
    add("iOS")
    add("Windows")
    add("macOS")
    add("Unix")
}

...(略)...
おしまい
以上が Kotlin で最も基本的な ListView を設定したアプリのコードです。
リスト項目をタップしたときの処理や項目の挿入・削除などについては以下の記事をご覧ください。
ピンバック: [Kotlin] ListViewのリスト項目をタップした際のイベント処理 - JoyPlotドキュメント
ピンバック: [Kotlin] ListViewの項目にボタン付きの自作レイアウトを設定 - JoyPlotドキュメント